ADvantages
-
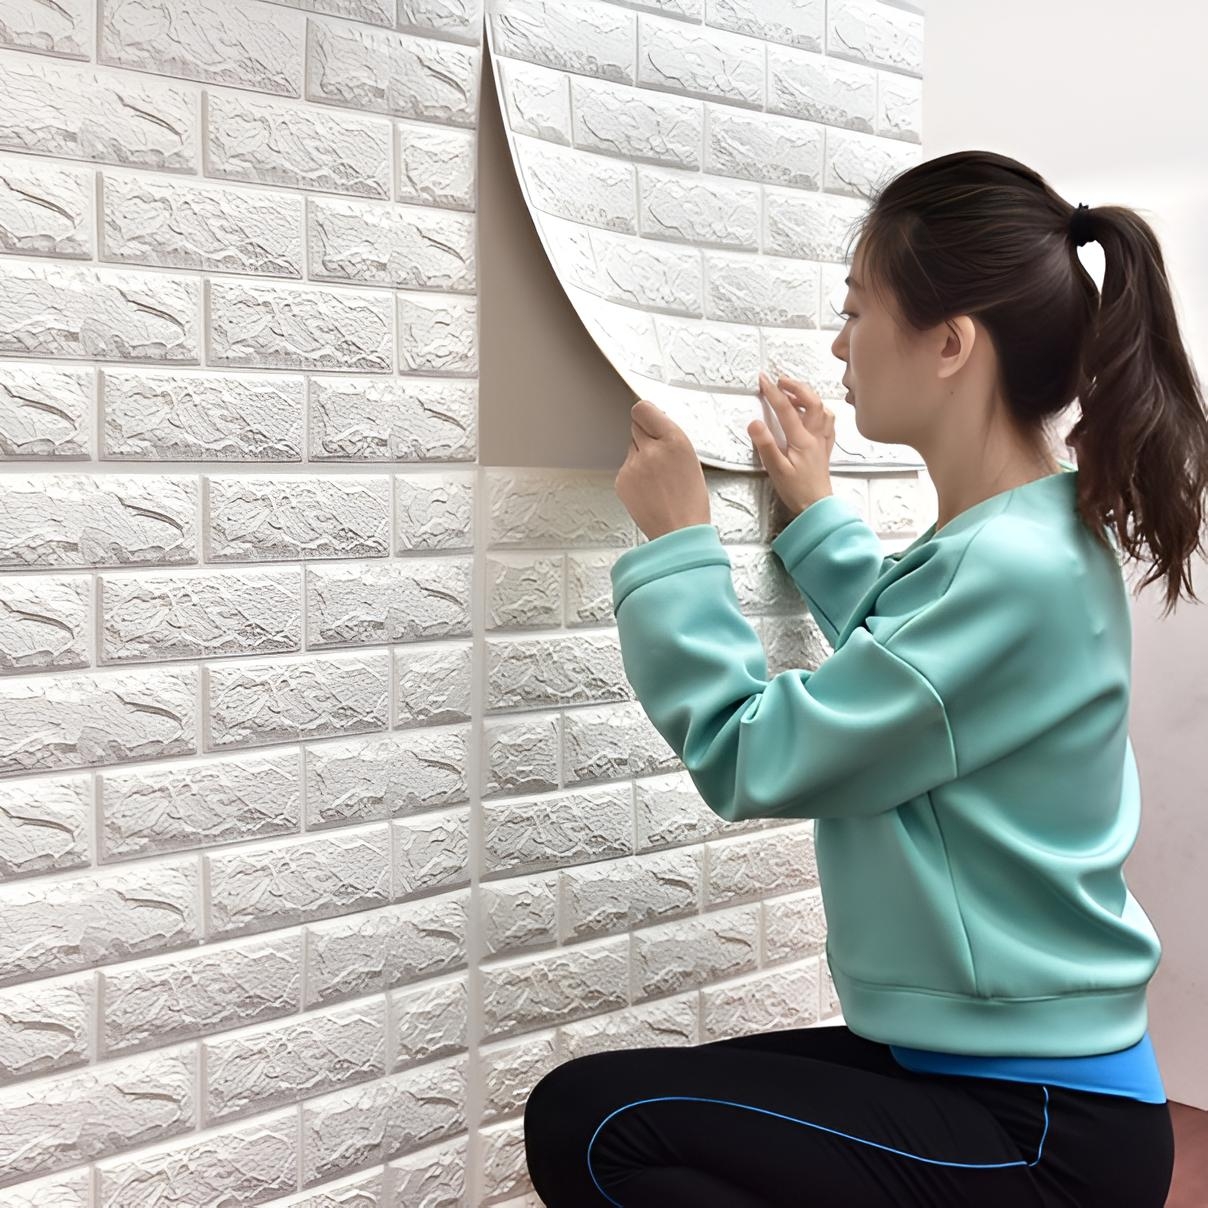
Ease of installation
Self-adhesive panels do not require additional tools or fasteners. Simply peel off the protective film and stick the panel to the surface
-
Saving time
Installation of panels takes significantly less time compared to traditional finishing methods, which allows you to quickly update the interior
-
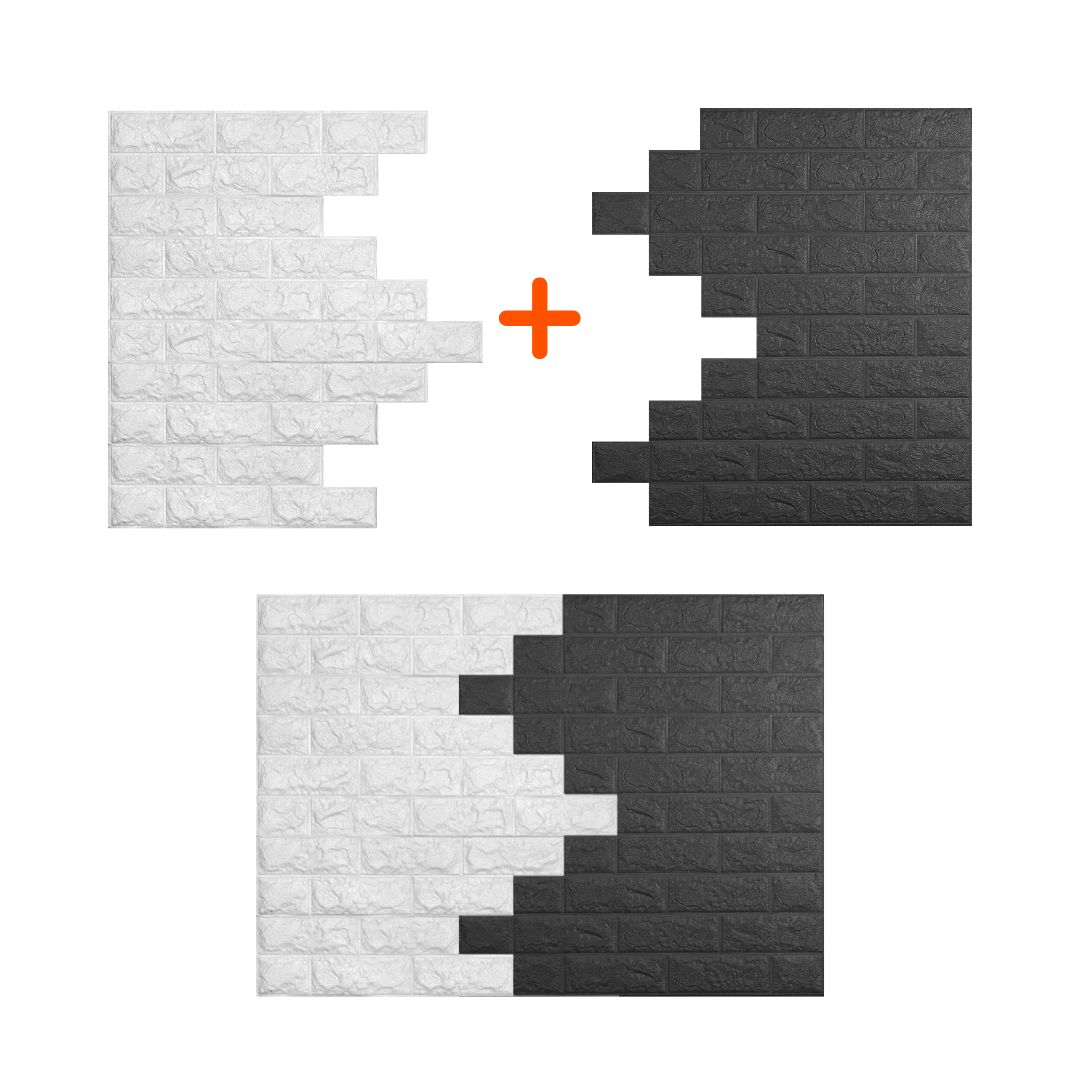
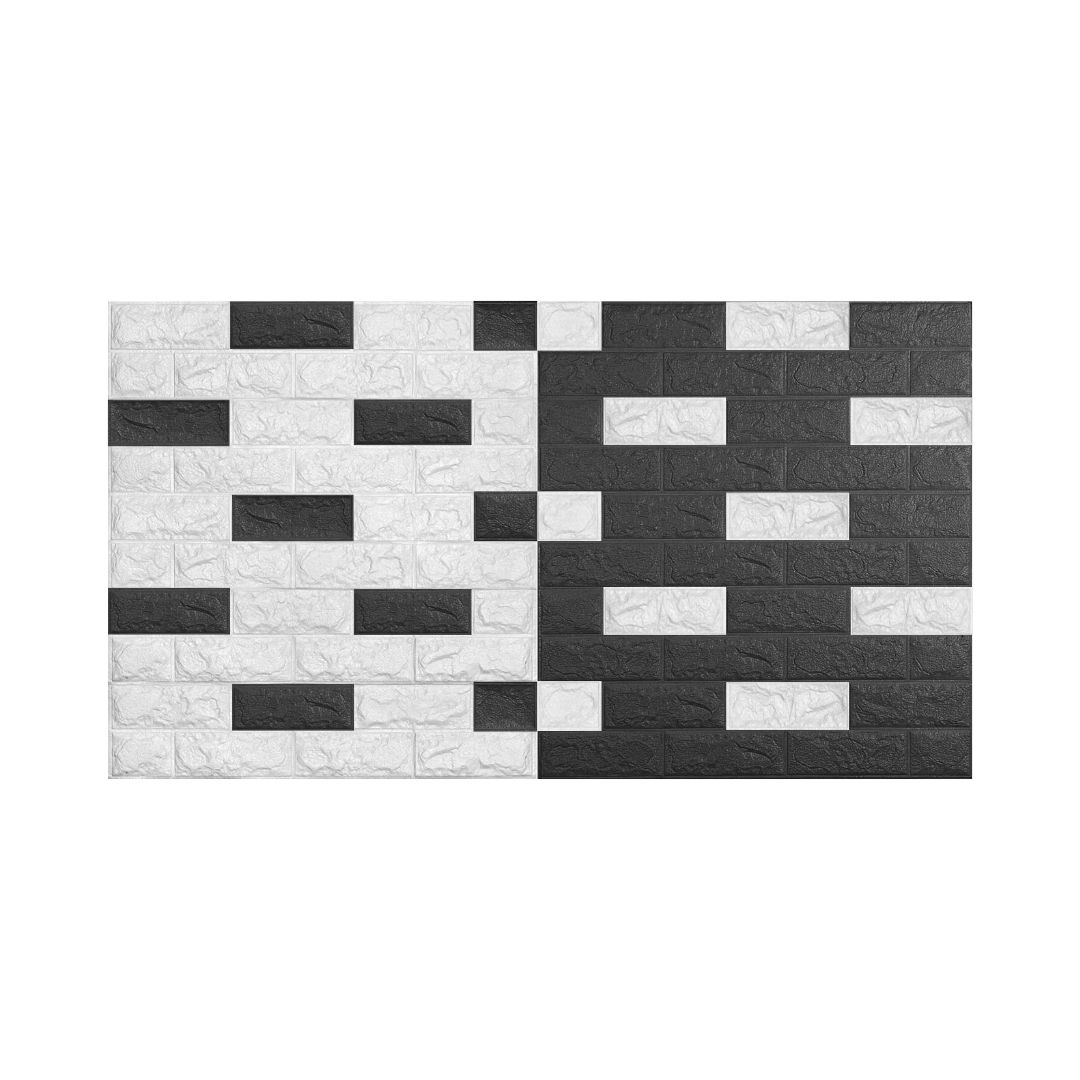
Variety of designs
3D panels are available in various textures and colors, making it easy to choose a style that matches any interior.
-
Resistance to damage
High-quality materials from which the panels are made ensure their durability and protection from damage.
-
Ease of care
The panels are easy to clean and do not require complex maintenance, making them an ideal choice for high-traffic areas.
-
Soundproofing
Due to their structure, 3D panels can improve the sound insulation of a room, creating a more comfortable atmosphere.
-
Eco-friendliness
Self-adhesive panels are made from health-safe materials, making them suitable for use in residential areas.
-
Hiding surface defects
The panels successfully mask unevenness and other defects, creating a smooth and stylish surface.
-
Moisture resistance
Some models of 3D panels have water-repellent properties, which allows them to be used in rooms with high humidity, such as bathrooms.
-
replaceability
If you want to change the design, the panels can be easily removed and replaced with new ones, without leaving marks on the surface.
Installation instructions
Self-adhesive panels are glued using the butt-to-butt method, carefully and accurately matching the side of one panel to the other. When gluing subsequent panels, itis necessary to apply the edges of the panels to each other so that there is nogap between the panels. If there is excess panel at the edge of the wall, the panel must be cut to the appropriate size.
Materials and tools
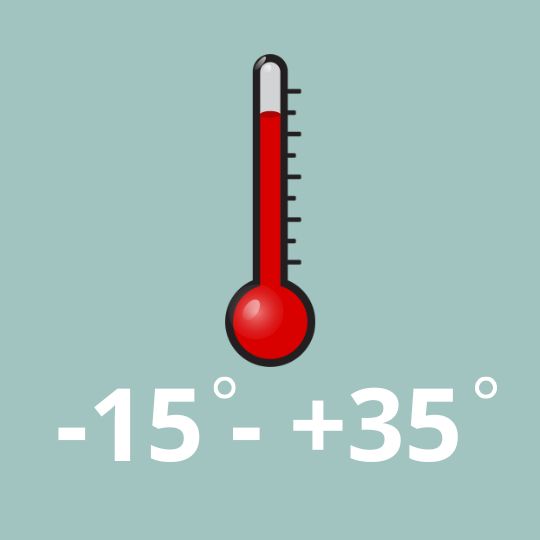
Installation should be carried out at a temperature of -15
- +35 degrees Celsius
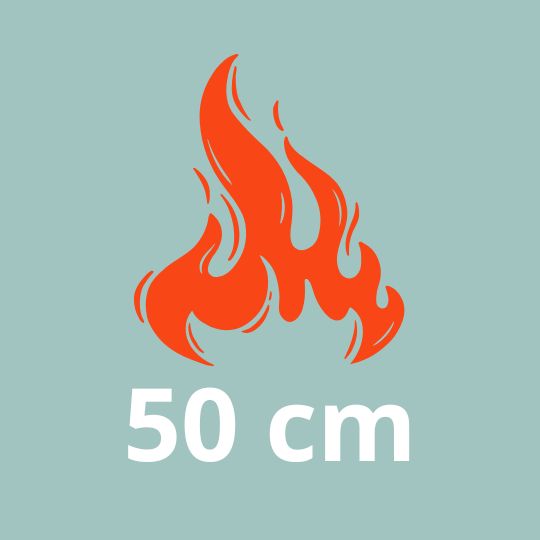
Keep at least 50 cm away from open flames. Use a protective screen or
gas stove lid near a gas stove.
Self-adhesive panels can also be glued to vinyl wallpaper
using liquid nails with a quick initial setting only.
Necessary tools and materials for installation:
-
1
Self-adhesive panels
-
2
Level, ruler
-
3
Scissors or a painting knife
-
4
Liquid nails (for gluing onto vinyl wallpaper)
Installation of 3D panels is easy!
.jpg)
1. Preparation of the surface to be pasted: clean, degrease, dry
.jpeg)
2. Make measurements
.jpeg)
3. Cut to size
.jpeg)
4. Remove the protective film
.jpeg)
5. Stick and press to the wall

6. Use liquid nails if necessary
Installation methods